So - it has been quite some time since my last post - but this post should give insight in to all I have been up to in the last couple of months; basically, moving in NYC.
My awesome girlfriend and I took the plunge and moved in together. All of the excitement was curbed shortly when we looked at our chosen apartment, and all of our stuff in it. For those who don't know fitting 2 people's stuff in a NYC - 1 bedroom apartment should be an olympic sport. I'm a musician and she is into fashion so: 3 closets go for her clothing, and the rest of the space for other furniture, knick knacks, and my cough 7 guitars, amps, pedals, and misc gear cough.
Between the two of our stuff, and furniture from our previous apartments, there was no way we could give everything a "home" and fit some necessities (desk, storage, and a kitchen table). We took to the internet and found some really creative projects that others did to accommodate their storage needs. One really stood out as a possibility that we found on Pinterest - which you can check out here.
It involved a track system by Rubbermaid and wood shelves that can be arranged in any layout. I've seen tons of "Pinterest in real life" horror stories where people try and fail miserably at tasks that seem so easy online - but tried anyway.
The Design.
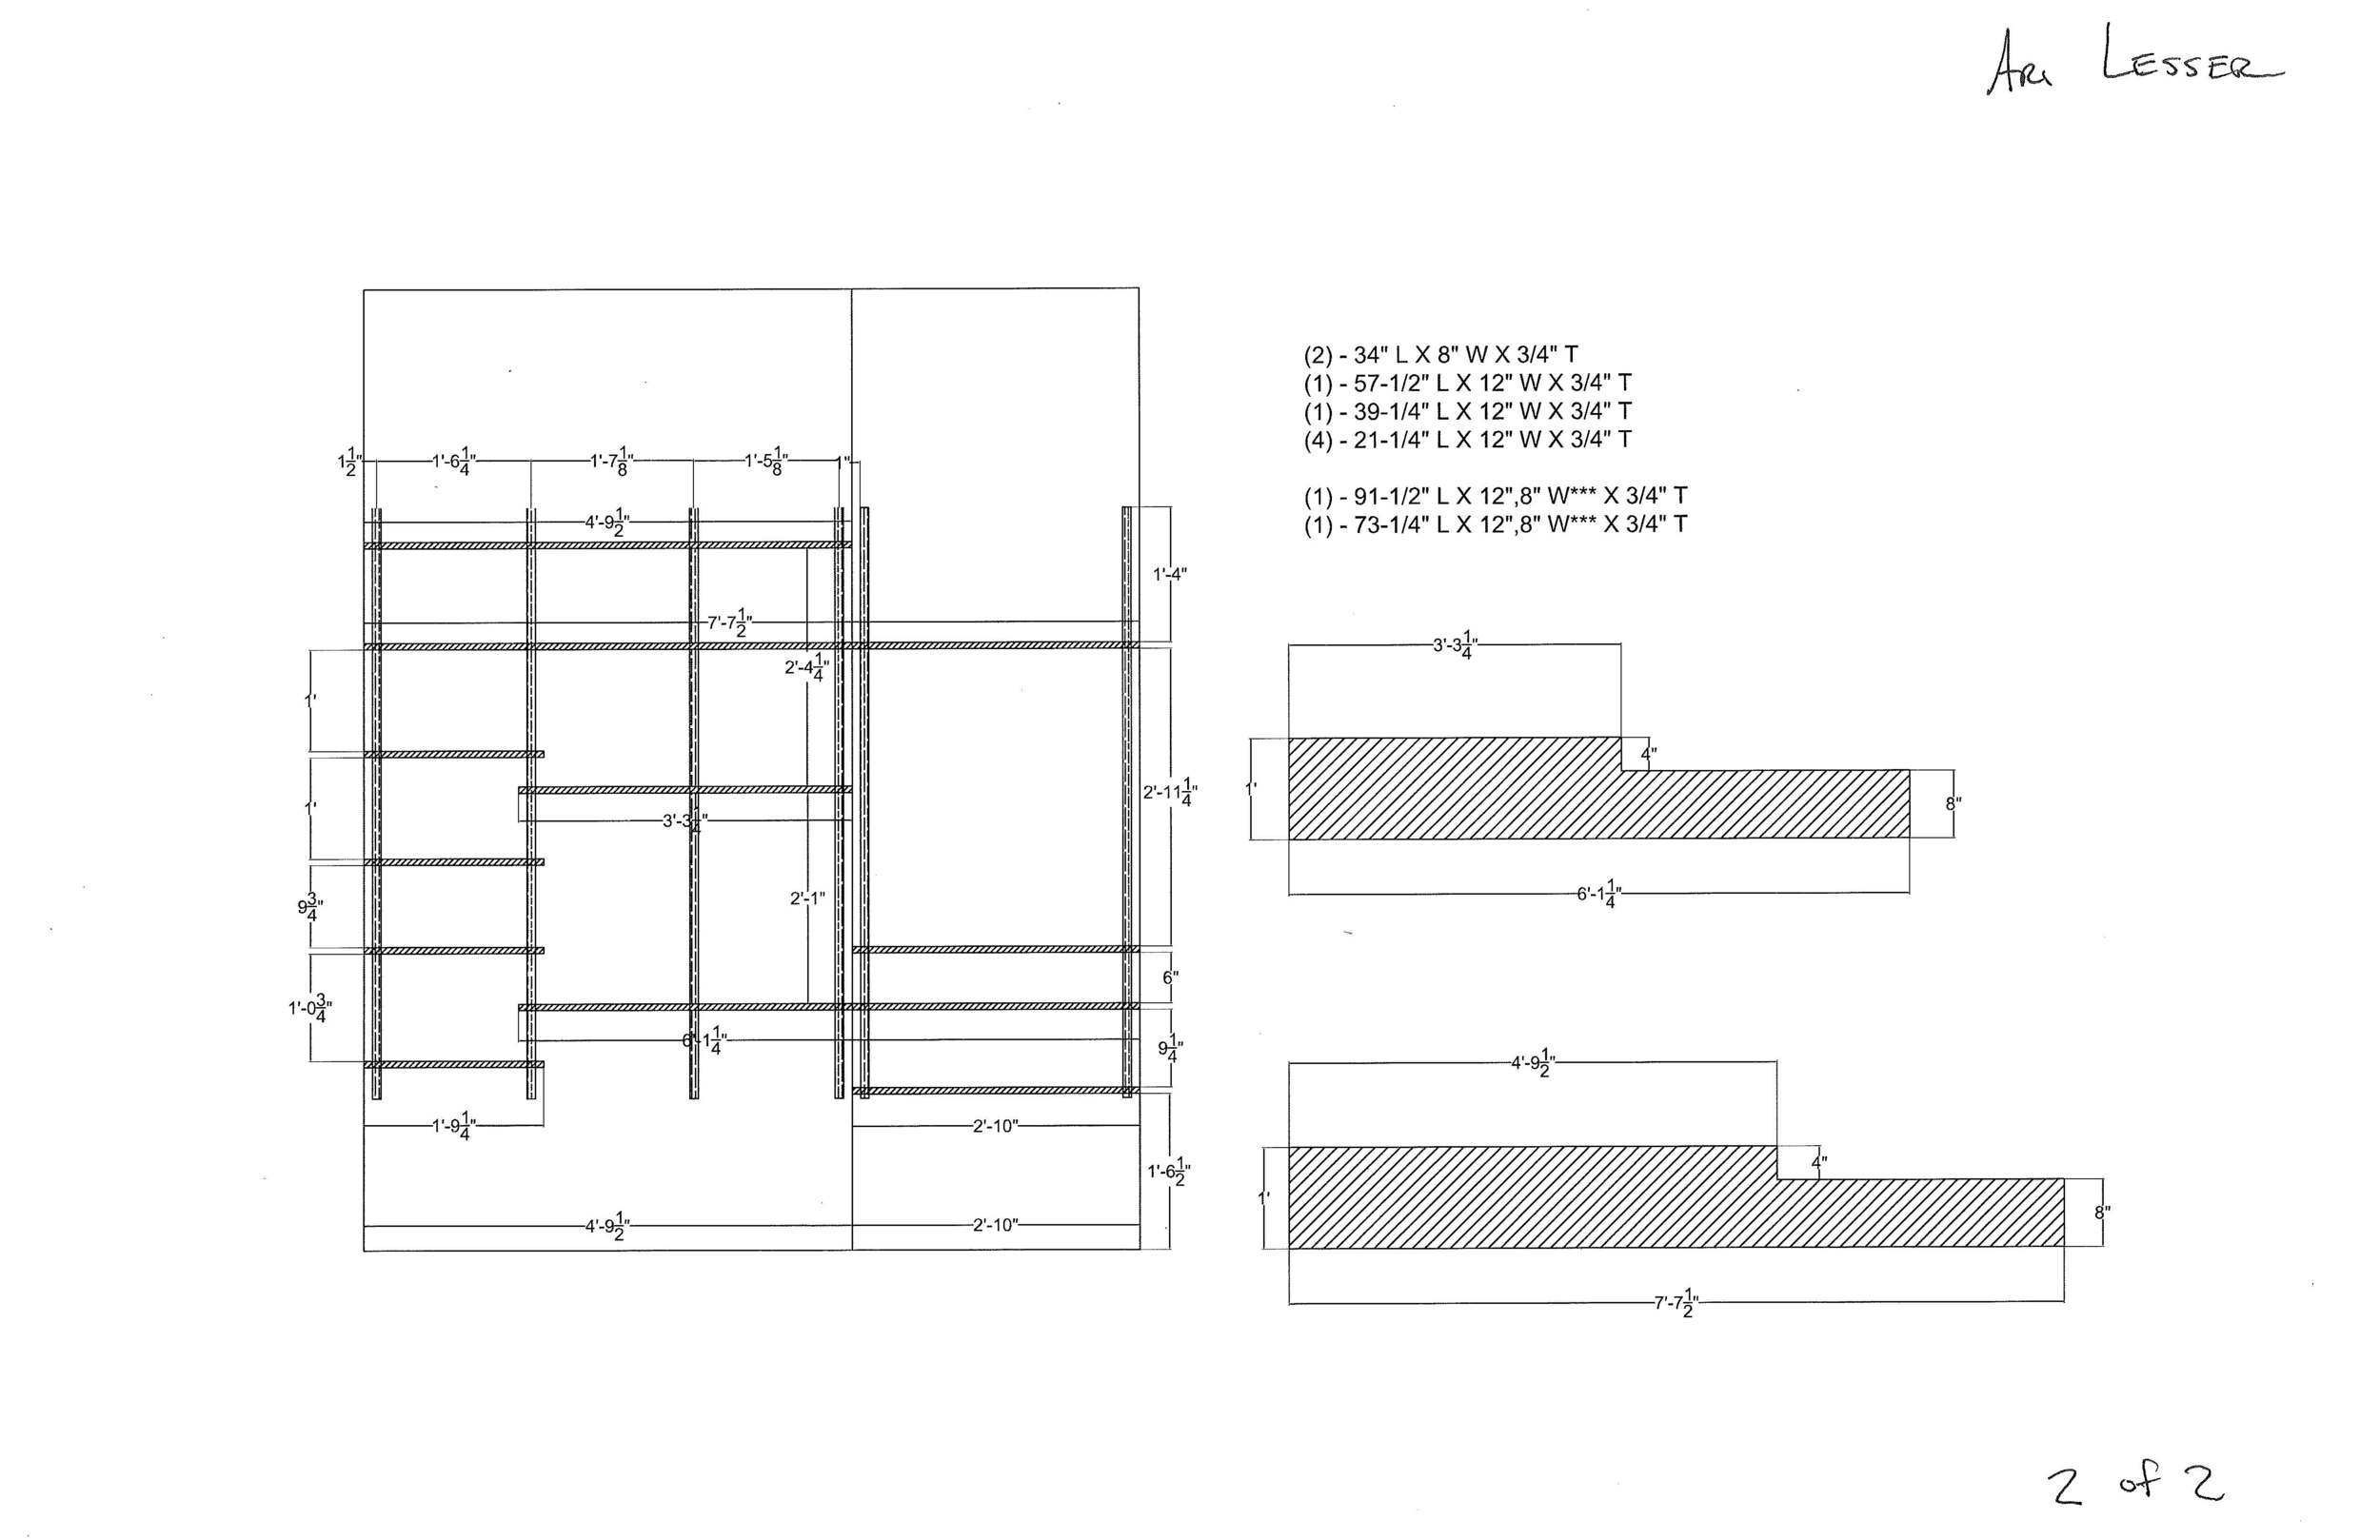
I took my time up front to make sure the process went smoothly - and was detailed accordingly (a product of being an engineer). Also a perk of being an engineer is having access to AutoCAD, which allowed me to measure and detail each part of the process to scale. Also an important part of detailing was involving the girl friend; I printed layouts and with some colored pencils we were able to plan an sketch the layout of where we wanted our remaining stuff to live on the shelves.
Above is what we decided on our final layout being. We went through a couple of iterations but we decided this met all of our needs and looked like a unitized shelf system rather than three individual sections. We needed to include a built in desk in the system as well so we based the heights on standard desk heights.
A cool part of our wall is that there is a 4" recess. This allowed us to play with the depth of shelves and have some cool "wrap around" detailing as shown in sketch above.
4 summer Fridays, 3 trips to Home Depot, 2 Drills.
The Build.
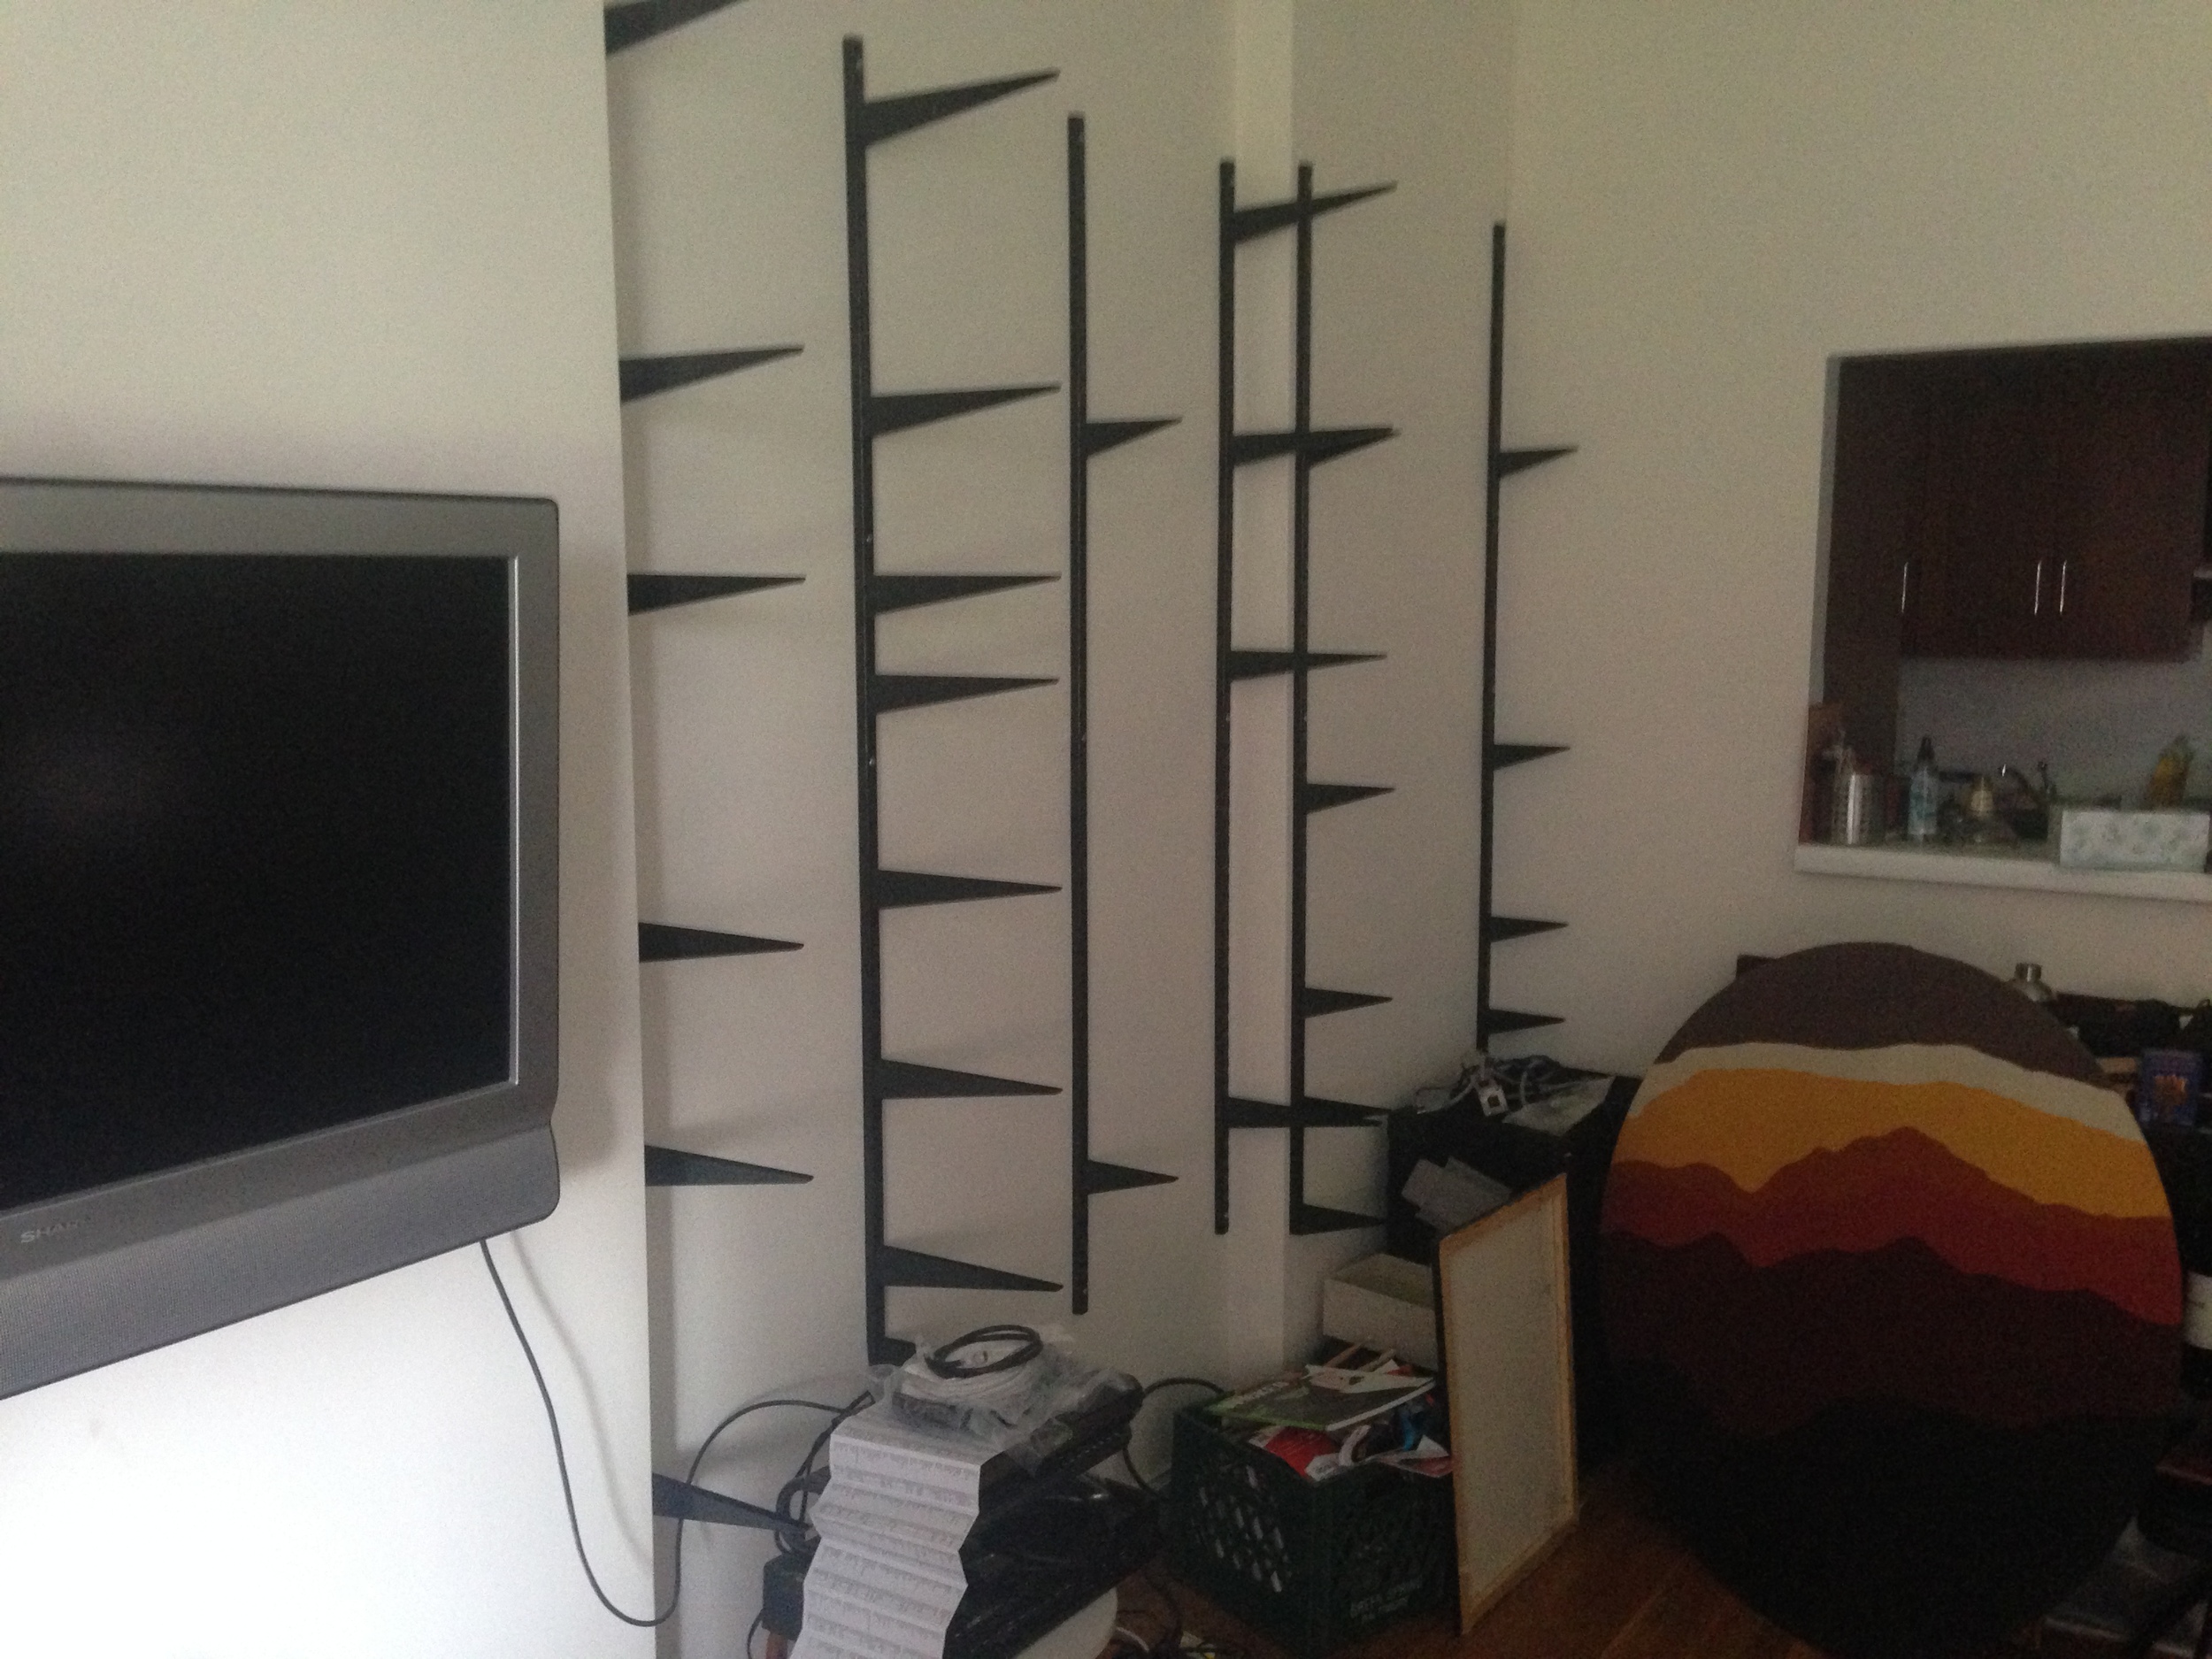
First step was put up the main track supports. I took a trip to Home Depot, picked up all the hardware I needed and headed home - always fun taking the subway after a trip to Home Depot - got caught in the turn style and also hit someone in face with the 70" post (not so fun).
Discovered the hard way that our walls were plaster on brick - so the anchors that came with the system would not work (2nd trip to home depot). Picked up what I needed, and came back to start drilling. It took me about 4 hours to get the posts up because of the brick and type of drill I had. I needed to do 4 steps before I was drilling at the correct anchor size and needed to recharge the batteries after 3 complete holes.
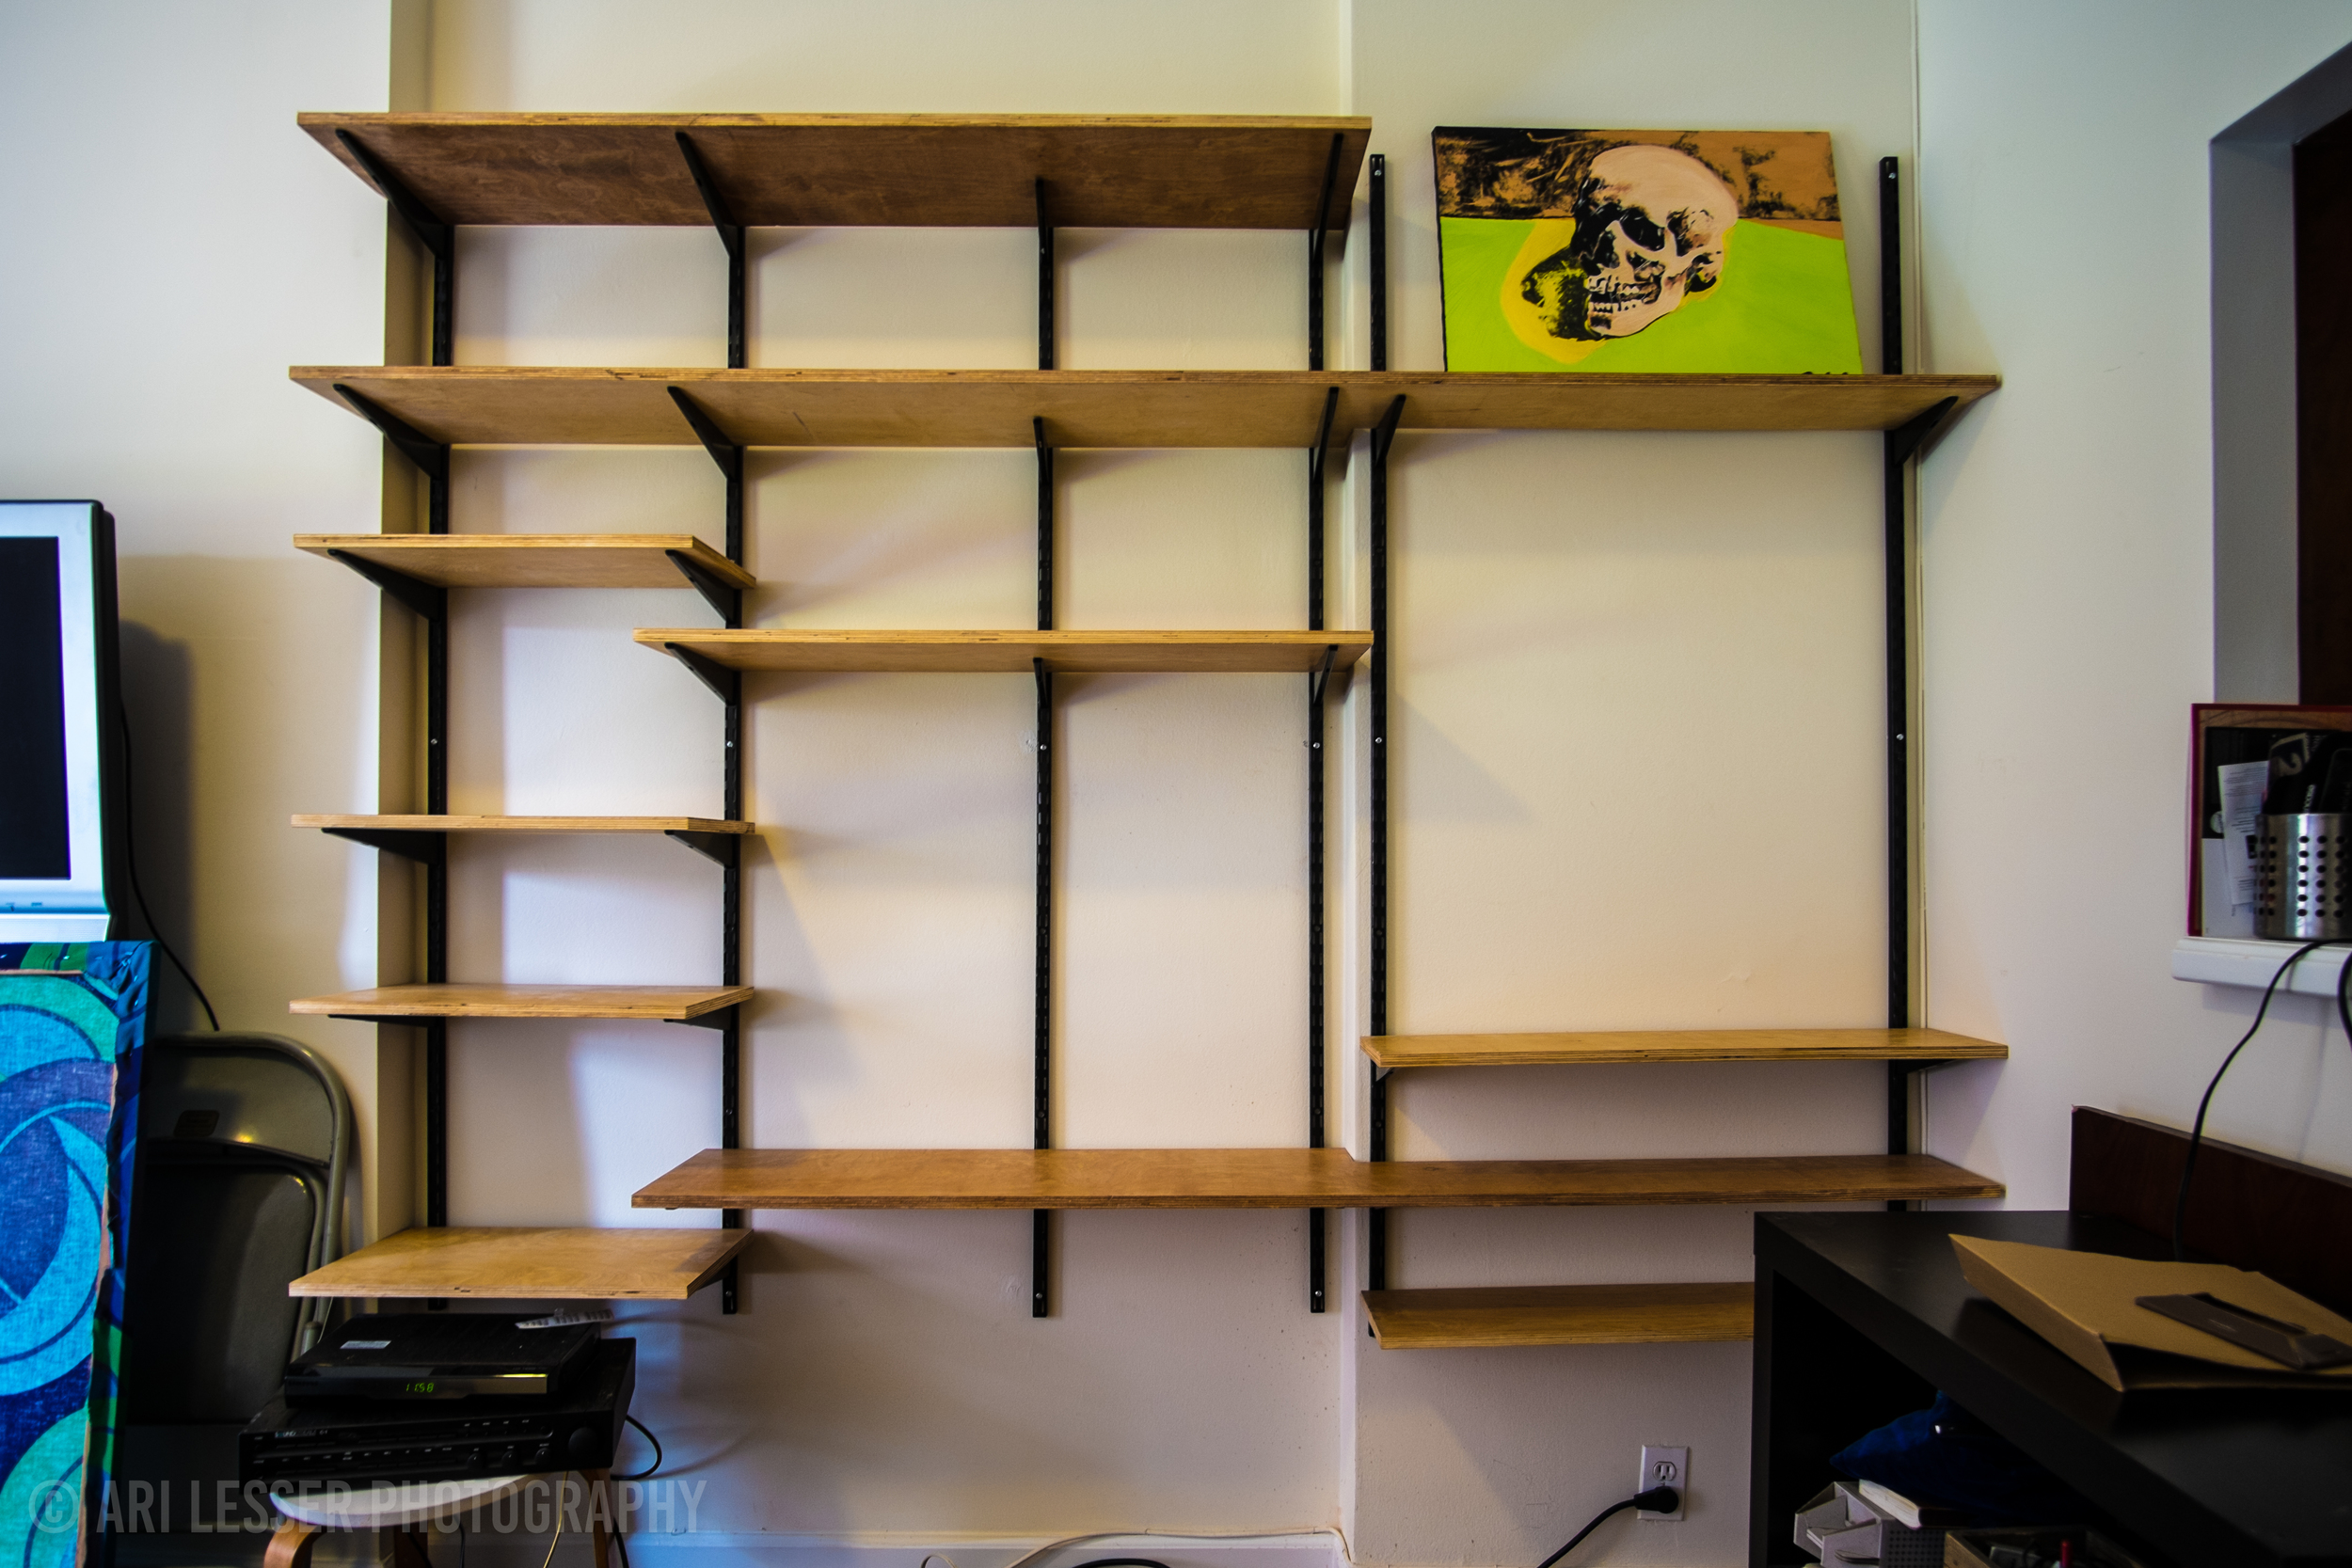
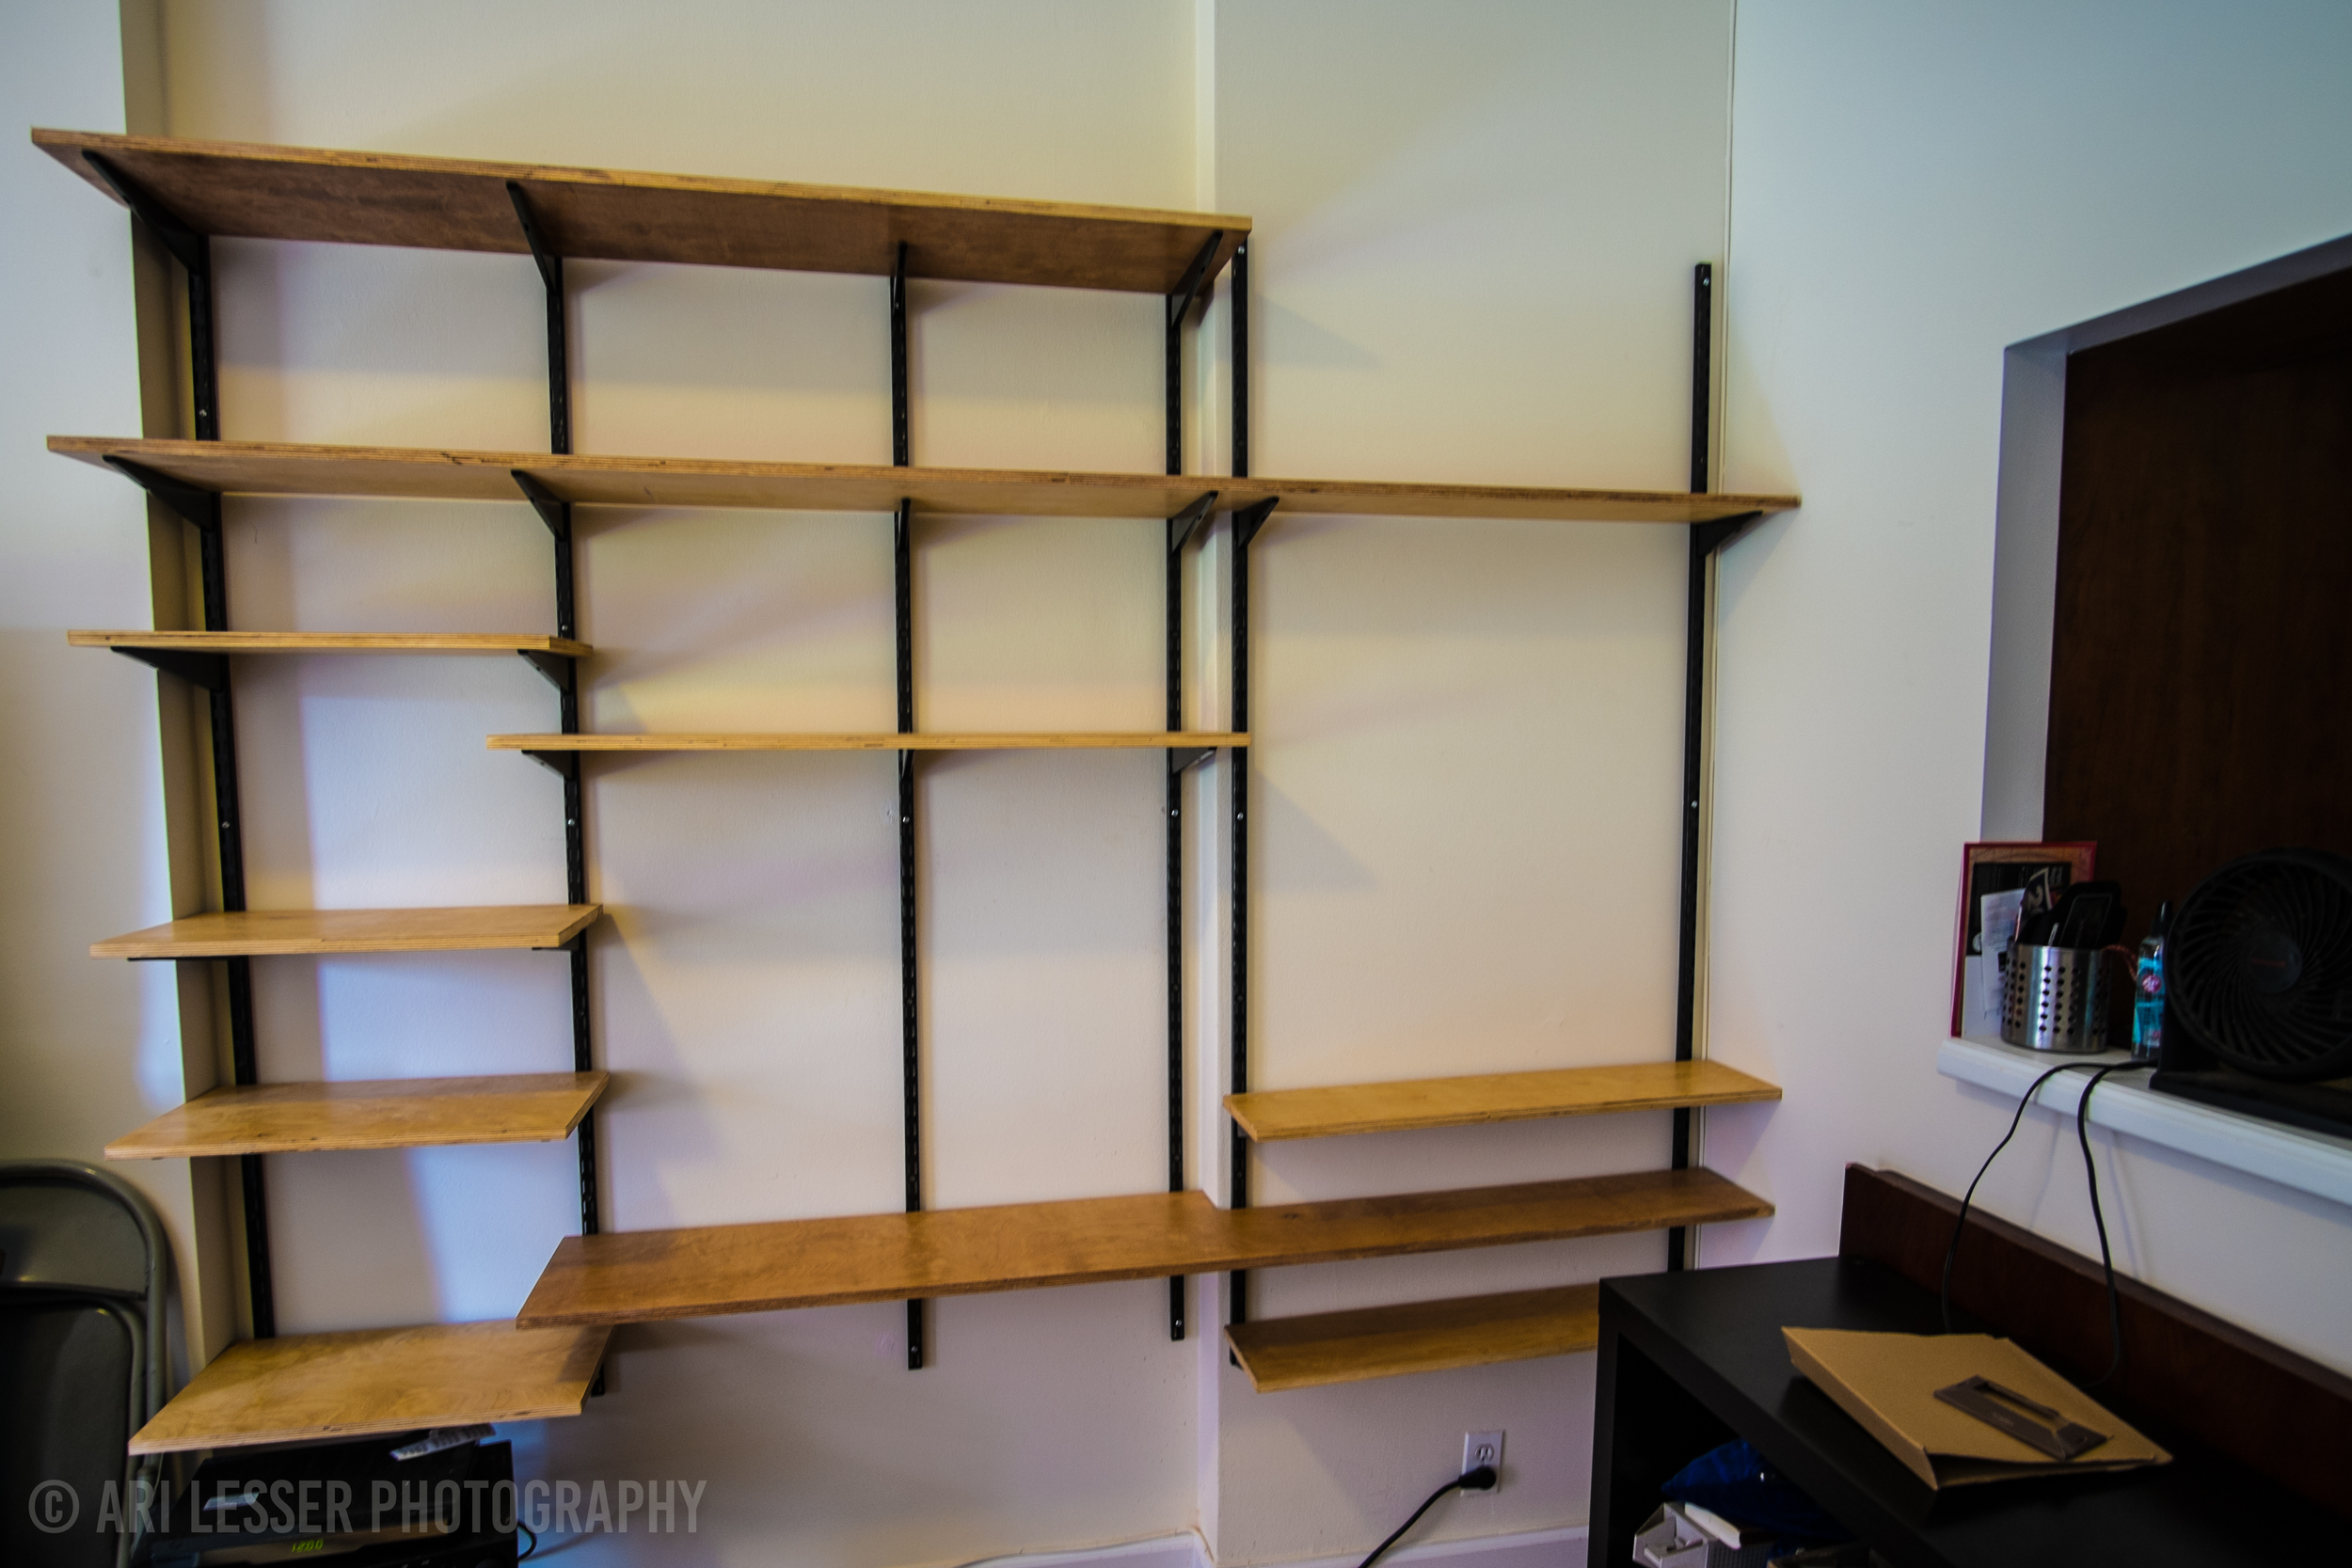
After the posts were up, I placed the brackets in our proposed location as well as a shelf we had lying around to make sure everything was level - luckily it was on point.
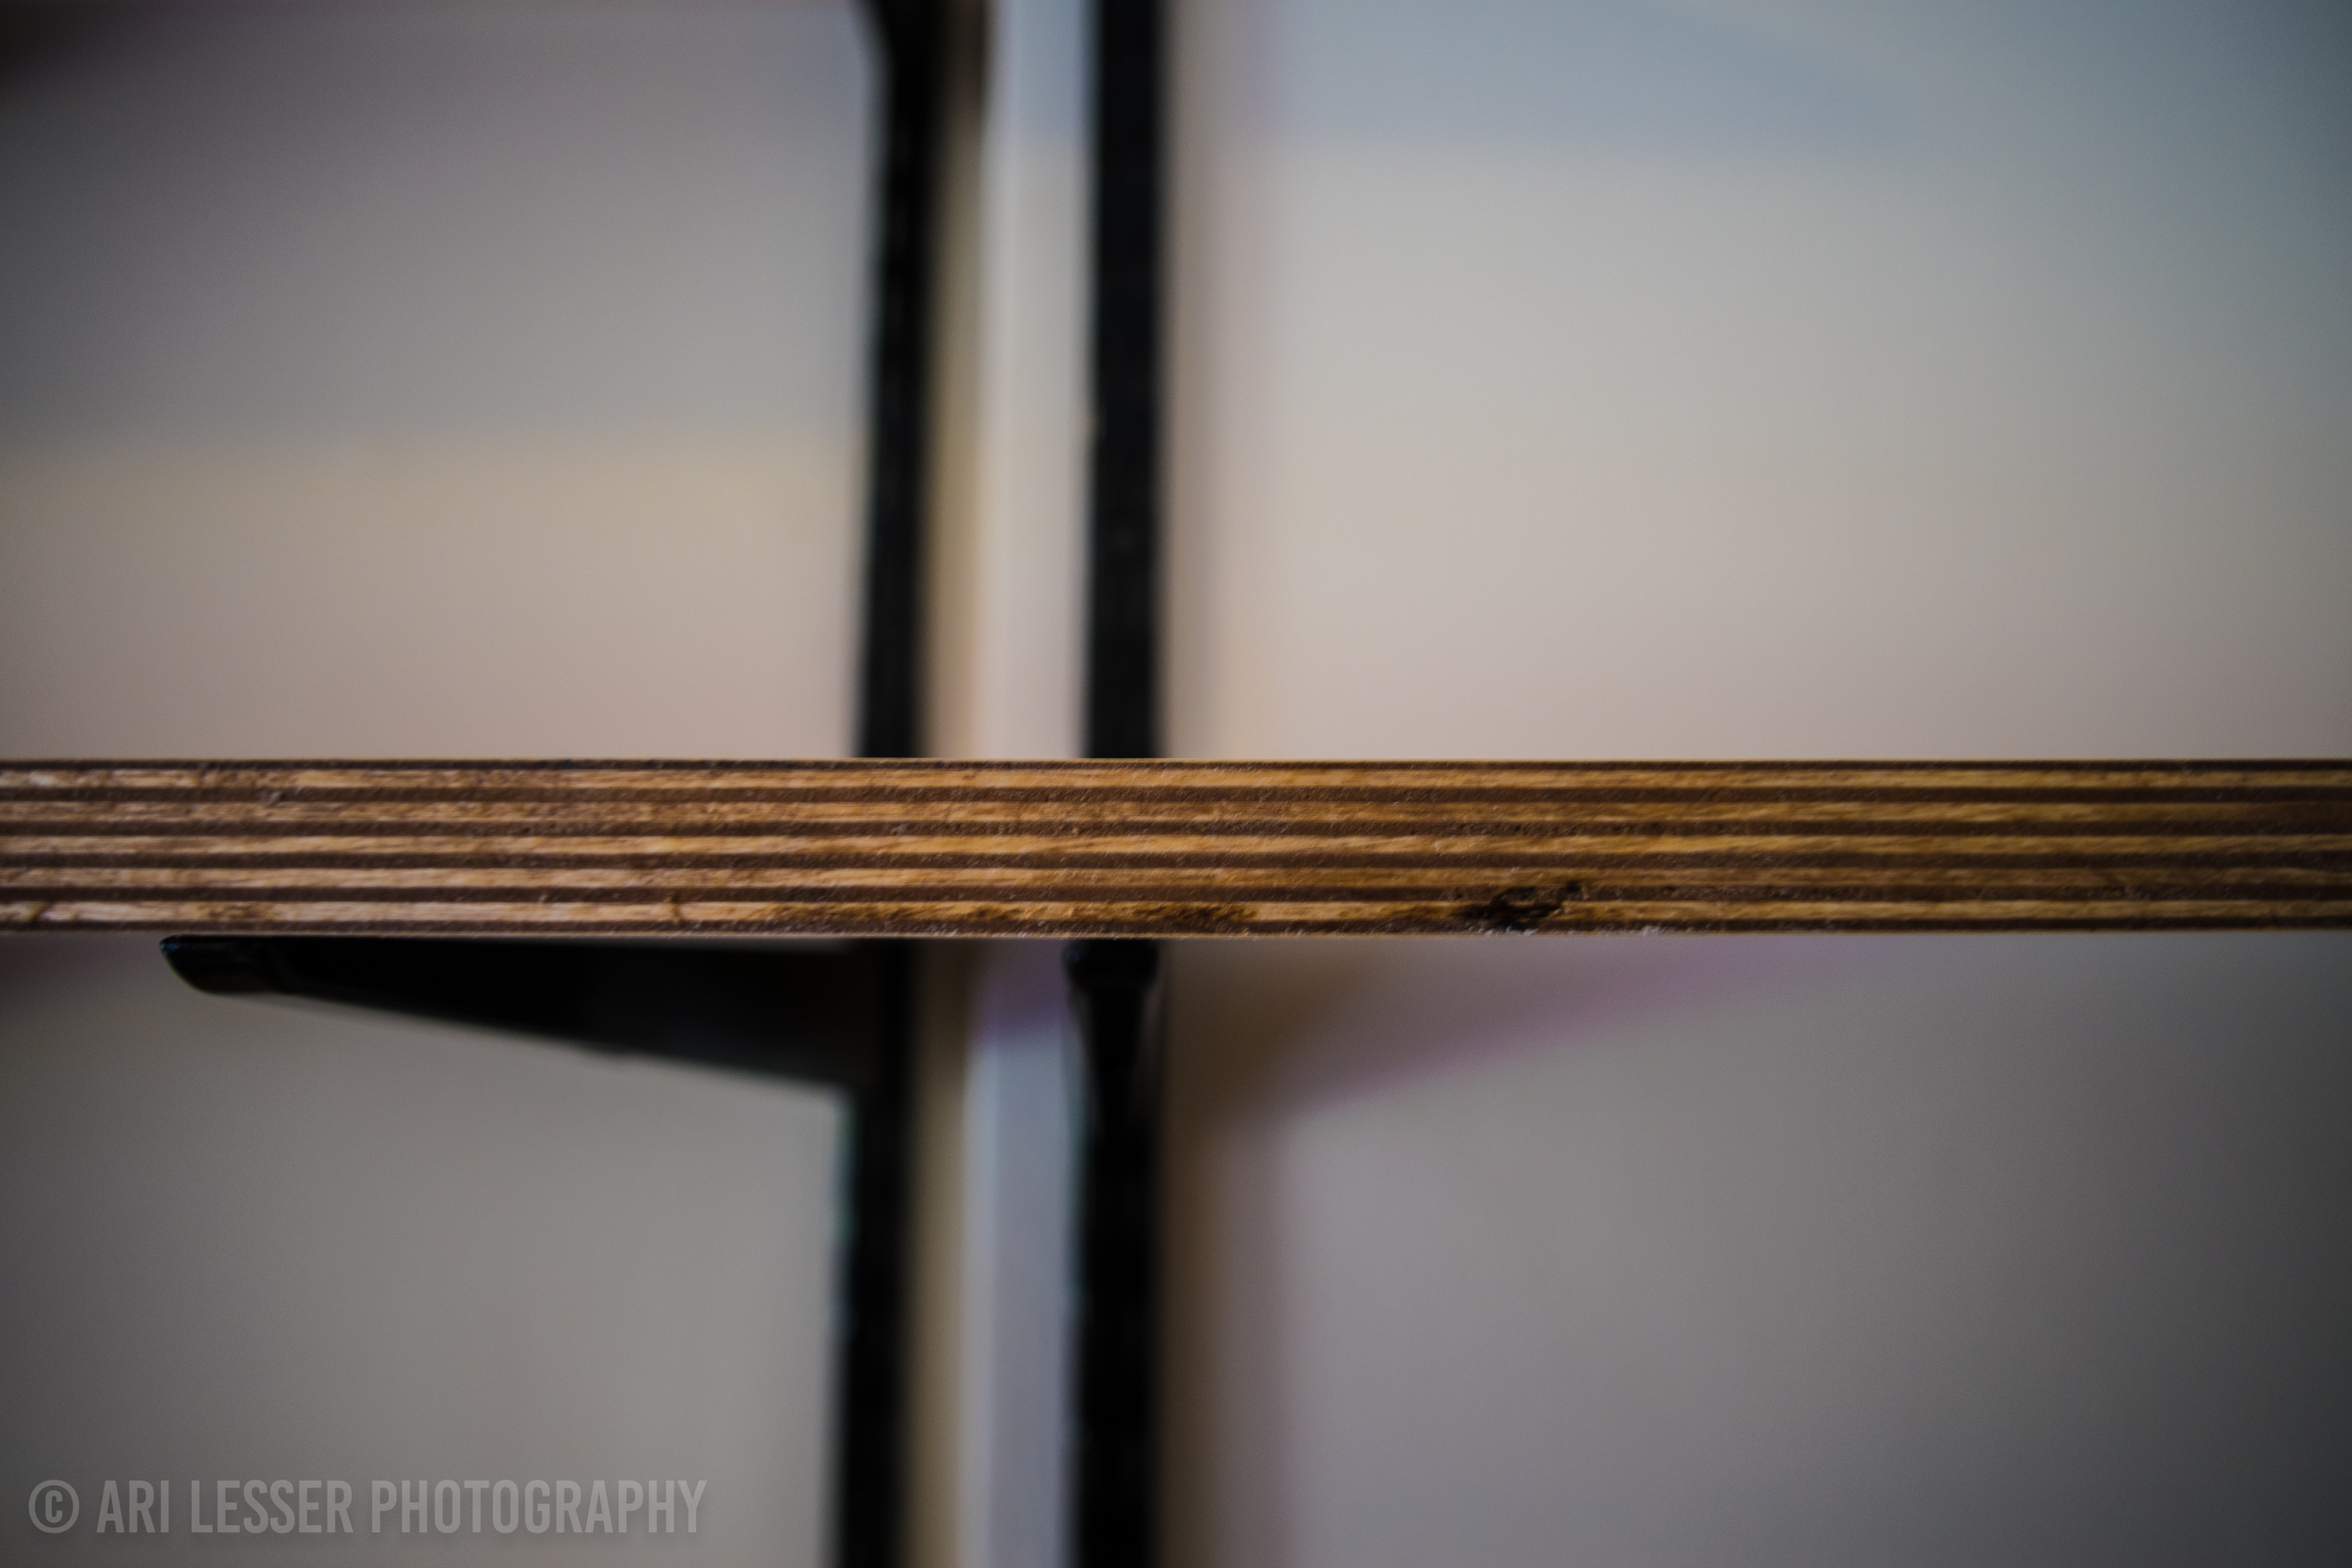
While I was building this, I had a lumber company in the city preparing the wood. We went with furniture grade birch plywood as they advised it was strong and good for shelving. It was too large for me saw/handle in the apartment and wasn't too expensive to have them cut and deliver it. The scaled drawing was a big help.
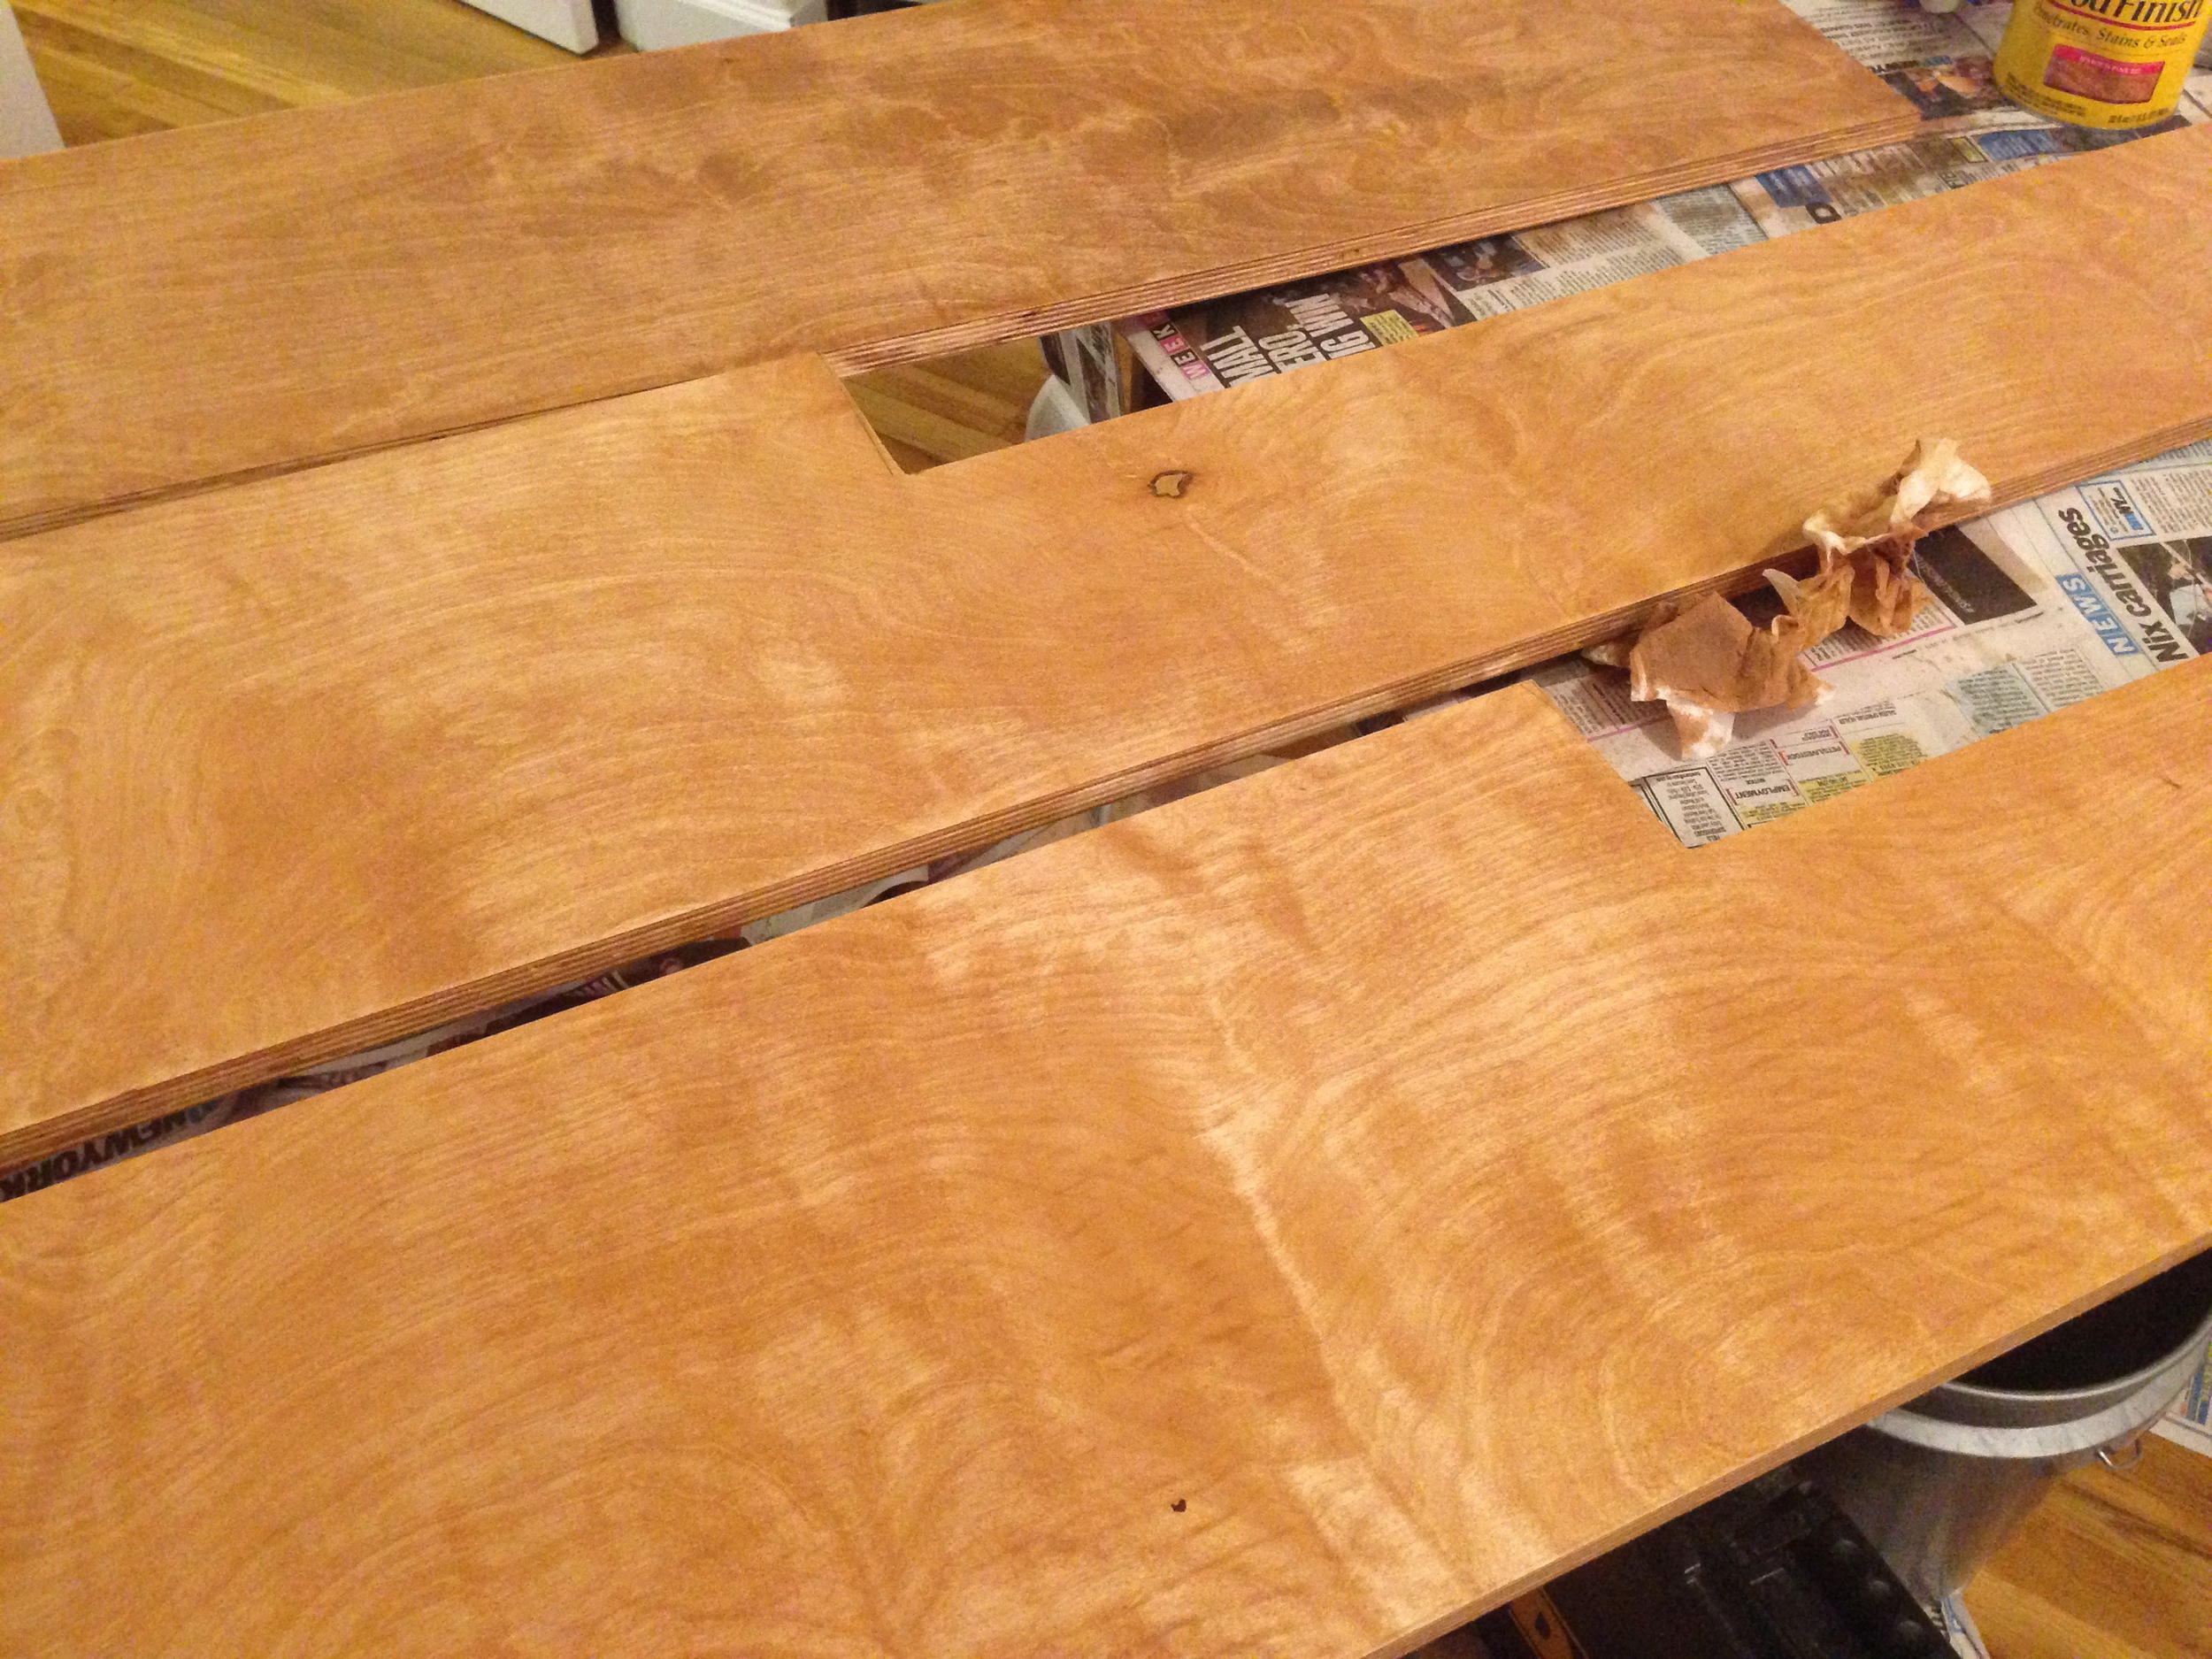
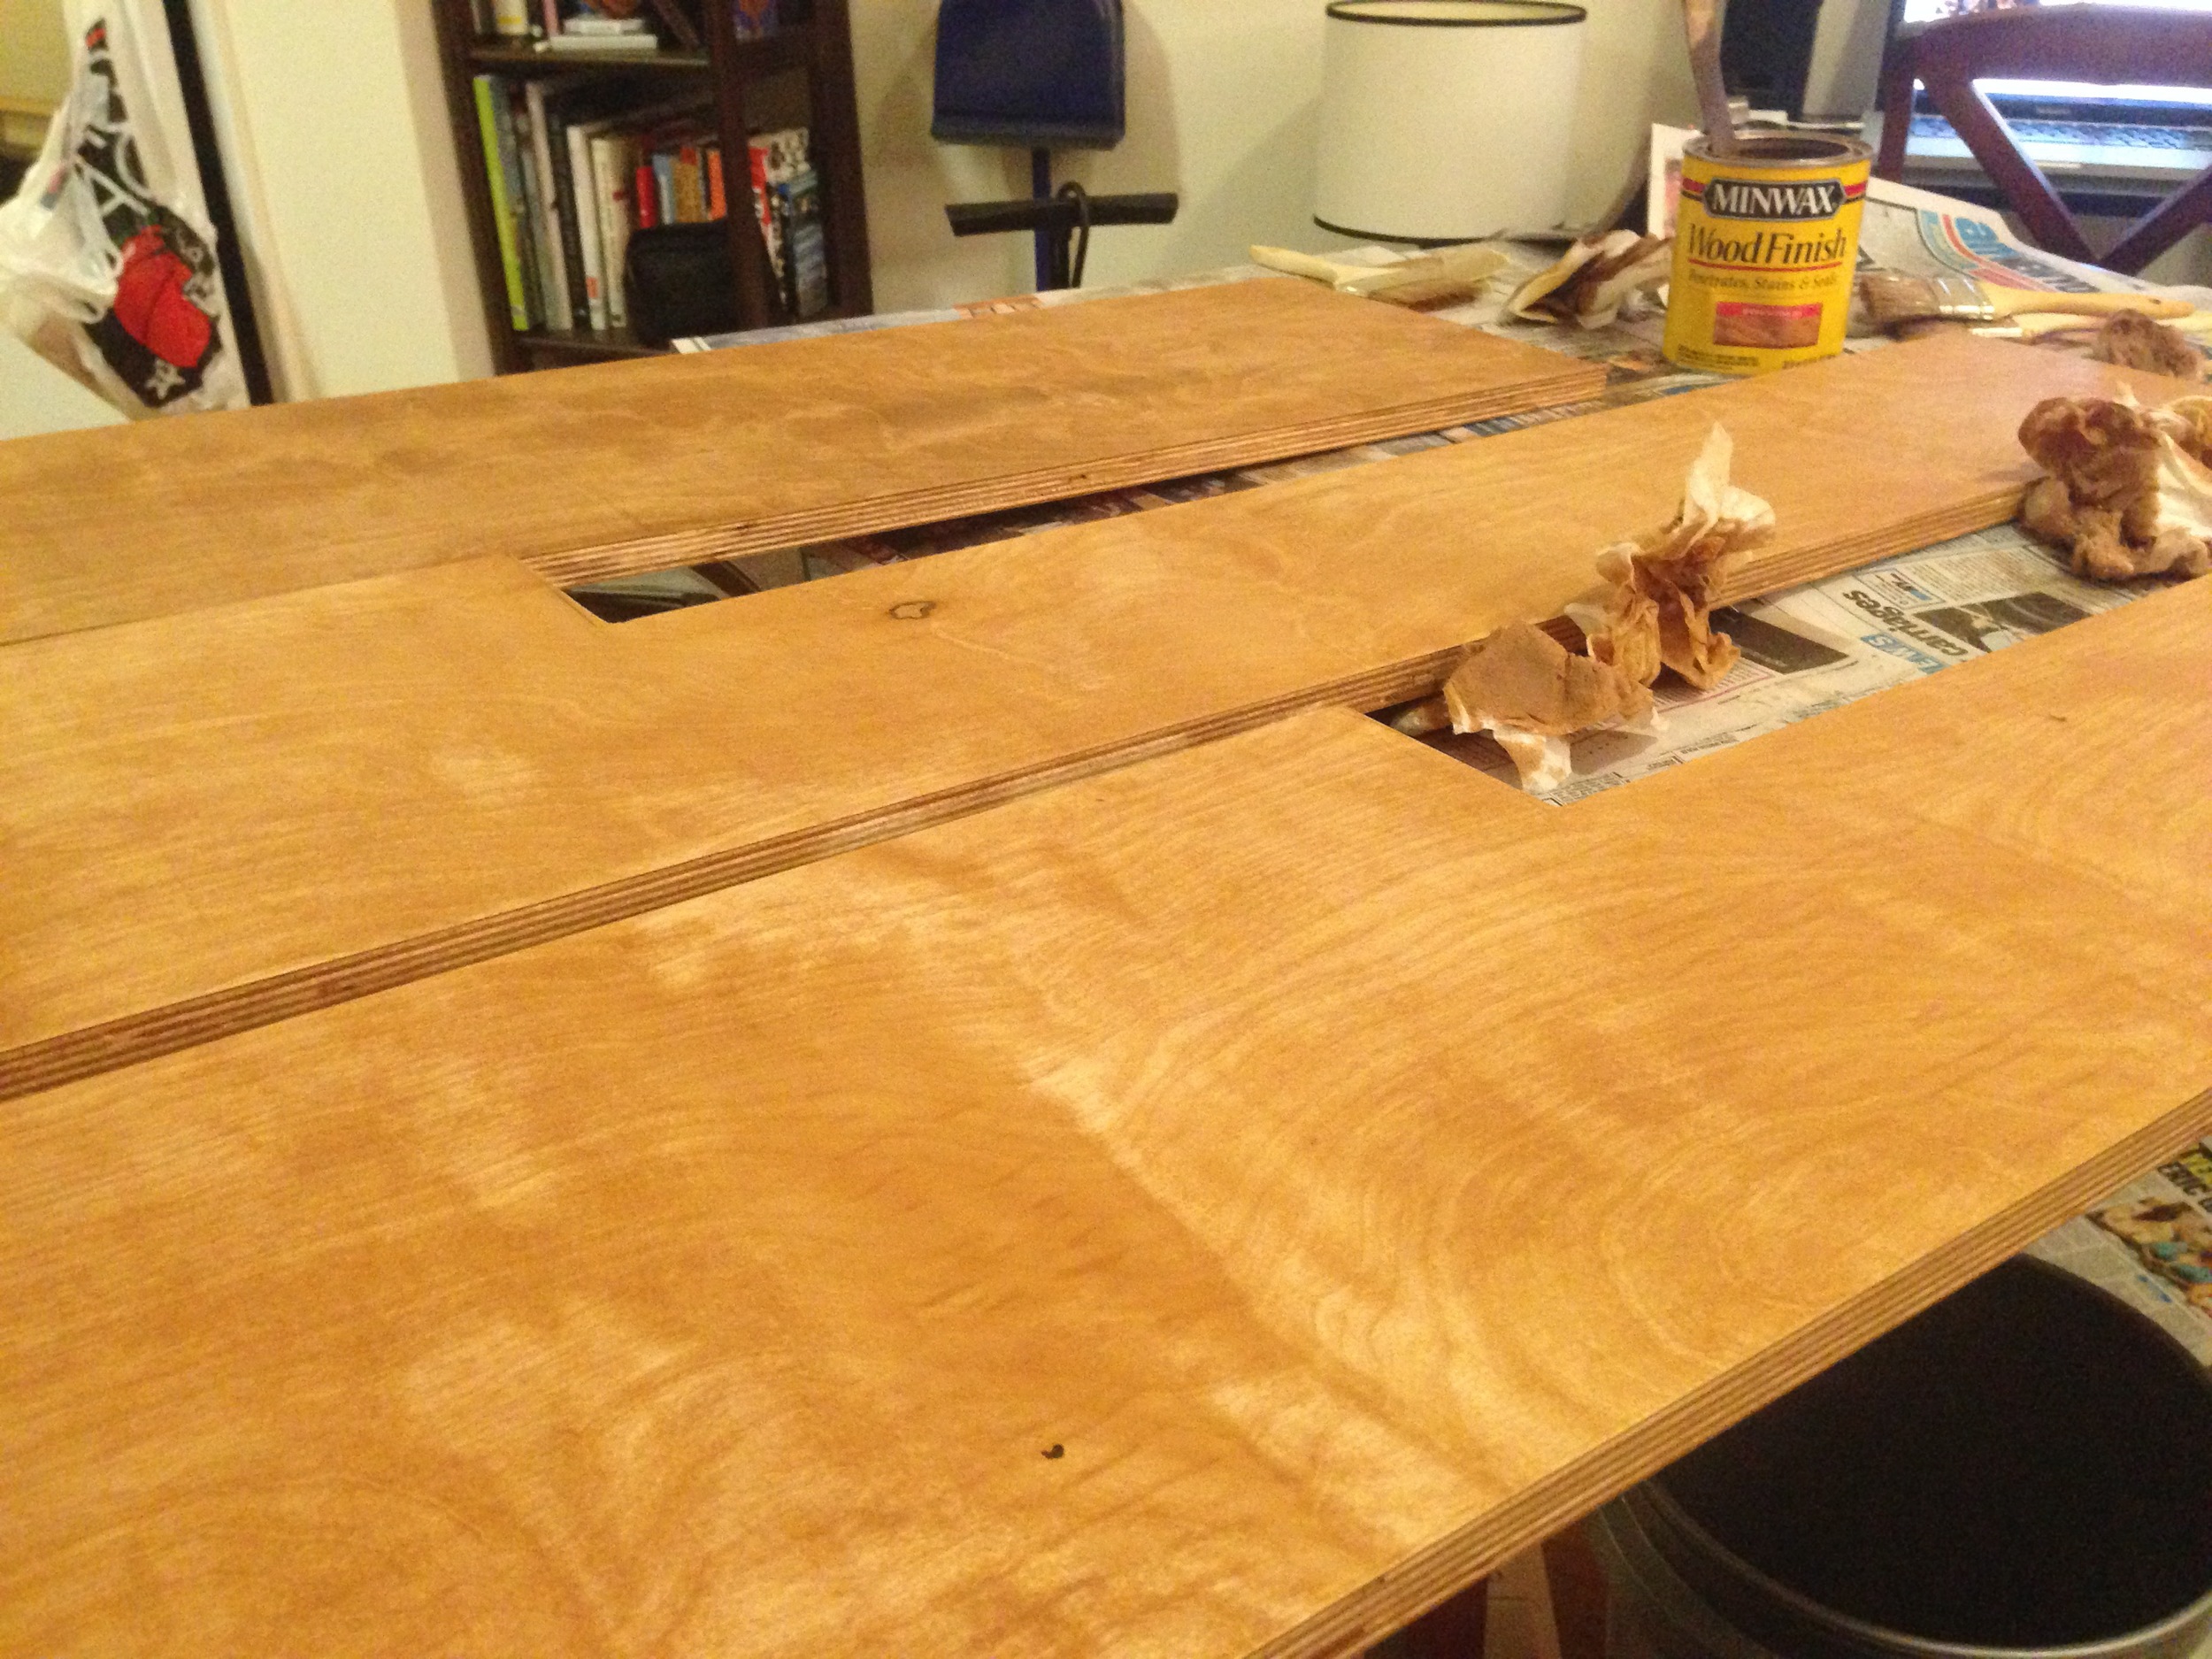
The next week, the wood was delivered and I got to really see what this project would look like in the end. As most walls in NYC are not level/straight I needed to do some sanding for everything to fit perfectly. I also had the lumber company provide us with some stain and primer to compliment the wood flooring of our apartment.
We wasted no time and began sanding the wood to prep for stain. My girlfriend was a huge and incredible help in this effort.
This was during the heatwave in early July, and with all of the fumes we had all fans running full blast with all windows open (it smelled awesome in the apartment). The whole staining process was worth it as it really brought a lot of beauty out in the grain of the wood. As a tip to those who may try this, be sure to stir the stain as well as you can - we half assed this step and have some interesting colors on the last pieces we stained. We had it drying suspended on a couple tables and on the fire escape over night. Any streaks were sanded out.
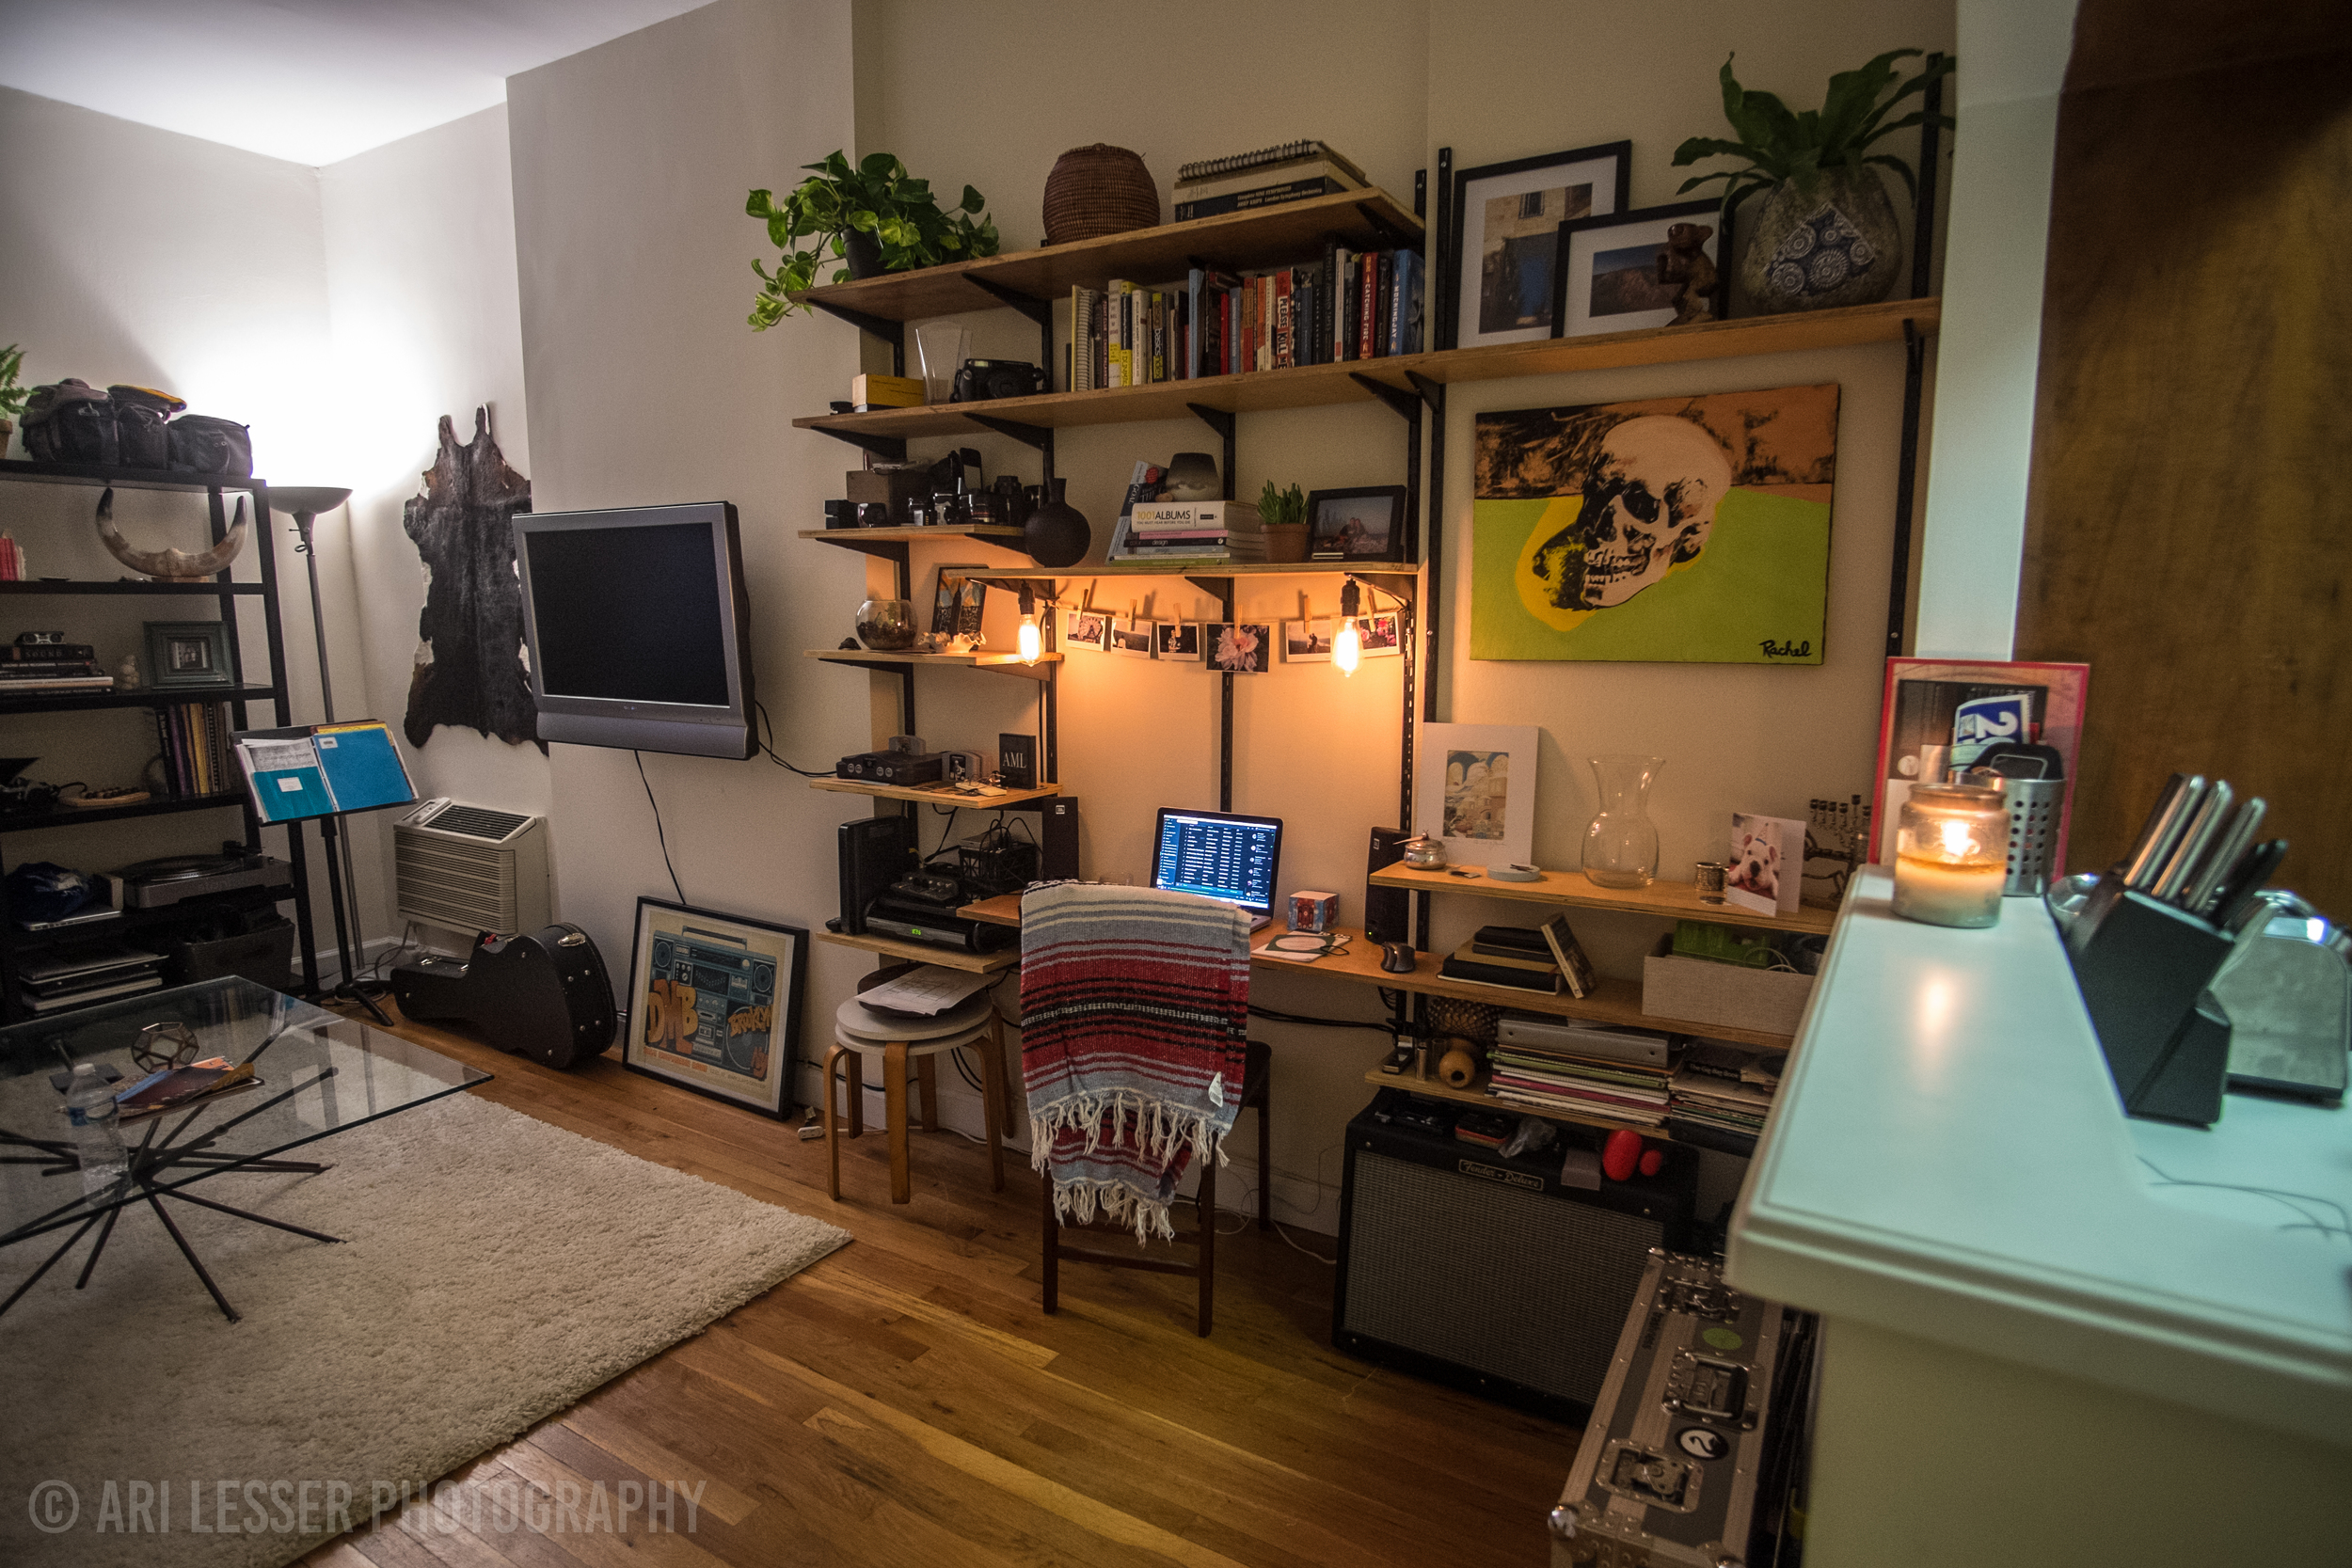
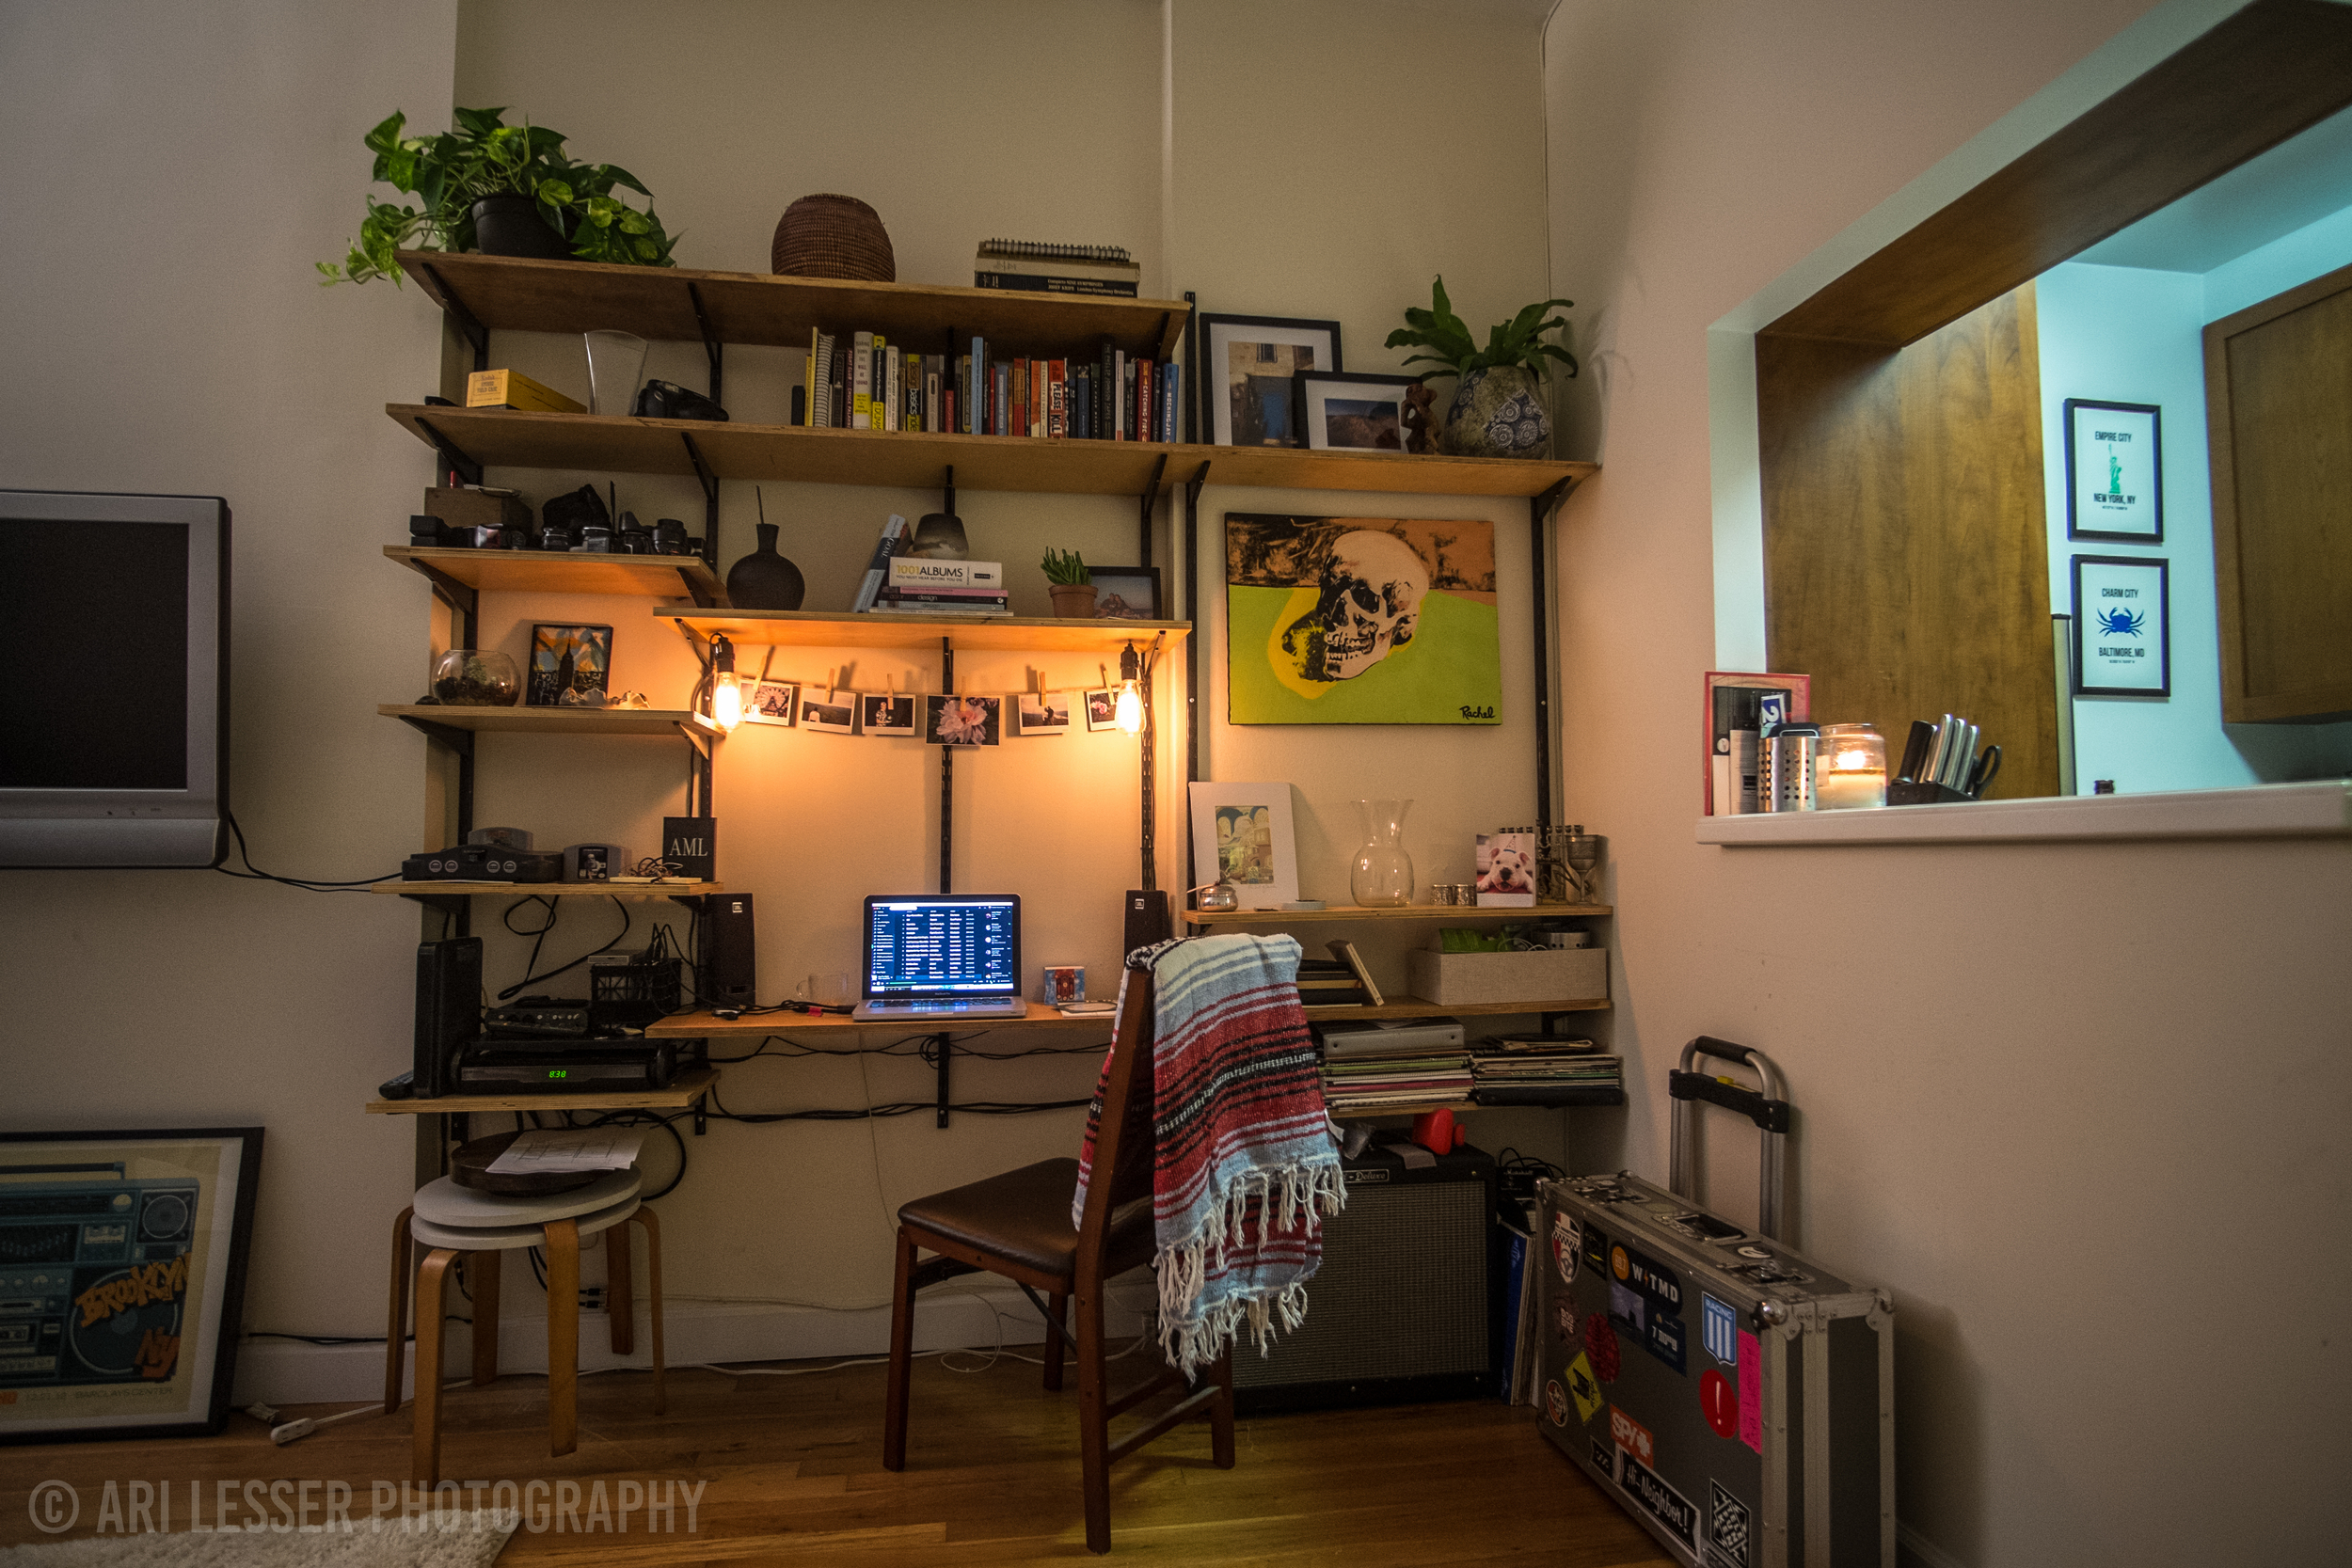
Once everything was primed and dried - we screwed the shelves onto the brackets, waited a day to make sure the primer was fully set into the wood and started decorating. Check out the pictures below of the final product! I added a couple Edison bulbs above the desk for some cool lighting. Also, the awesome Andy Warhol Skull copy is by my girlfriend's sister Rachel! More of her work here !!
All in, this project cost less than $300.
Part List:
6 - 70" Black Rubbermaid Tracks
17 - 11-1/2" Black Rubbermaid Brackets
12 - 6-1/2" Black Rubbermaid Brackets
Wood as per plan above.
29 - #6 1-1/2" Wood Screws
77 lbs Masonry Anchors (I did 5 per track)
Minwax - Stain/Prime
References:
STAINING (was a great video to show basics on staining)

